The Ultimate Guide to Craft Room Organization

I have struggled with my craft room organization over the years. I have spent so much money on storage containers and so much time arranging and rearranging my things, then in a few short months, it's a disorganized mess again. I want to share the lessons I have learned and give you my best ideas for getting and staying organized.
1. Sorting
The first step in craft room organization is sorting through the things you already own and throwing away or donating those you don't need or want anymore.
2. Designate specific storage areas
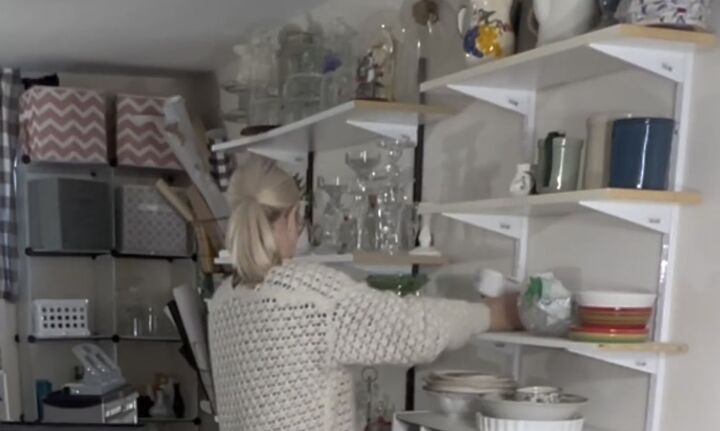
As you're sorting, decide where you will store each type of item. It might be a specific tub, a shelving unit, a cabinet, or even a closet.
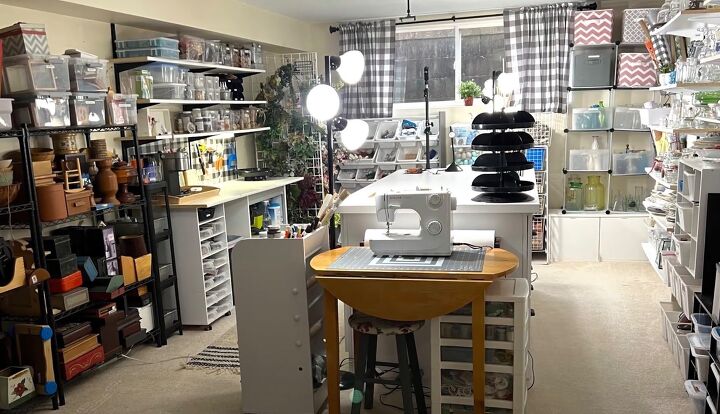
I use an old cabinet and three metal bookcases along the wall for storage. I store glassware and dishes on wall shelves.
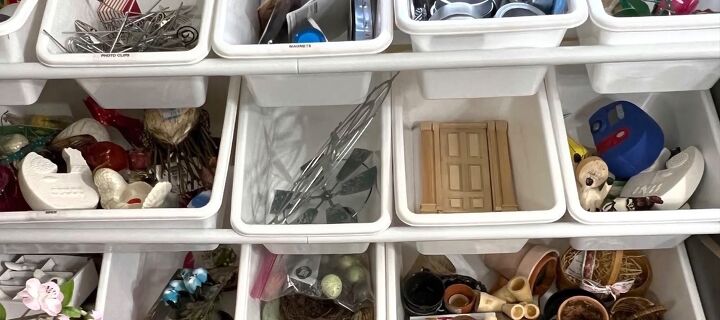
3. Organize by category
If you have a lot of stuff like me, you may want to group things together into even smaller categories to make it easier to find things.
I created categories such as mirrors, wall decor platters, and boxes on my bookcases. I then divided the glassware on the shelves into categories like Apothecary jars, closures, and glass candle sticks.

4. Group items by color
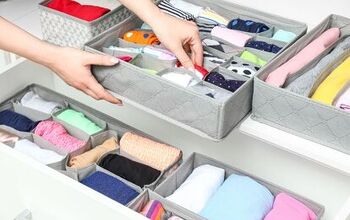
Organizing by color can help you quickly find what you're looking for, especially when dealing with a large collection of items like ribbons. Keeping it in small drawers organized by color has been a practical system for me.
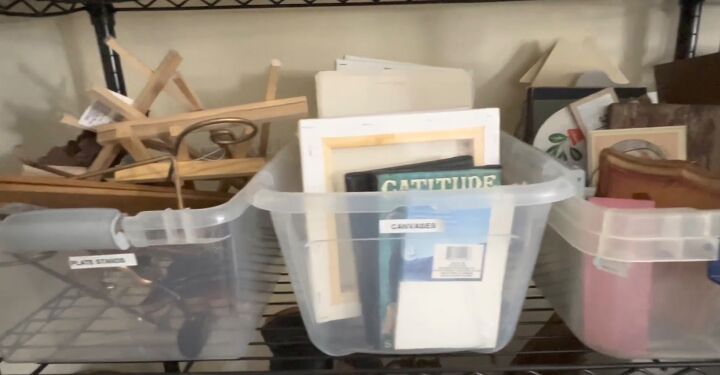
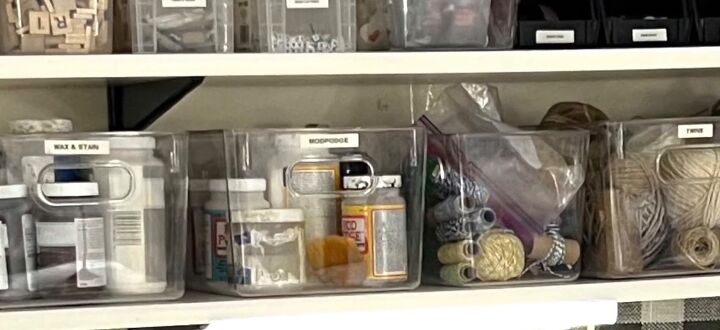
5. Use clear storage containers
Using clear containers has also been very helpful. When I can see what I have and where it goes, it's much easier for me to stay organized. Clear containers also save me time because I can easily find what I need without wasting time searching through opaque containers.
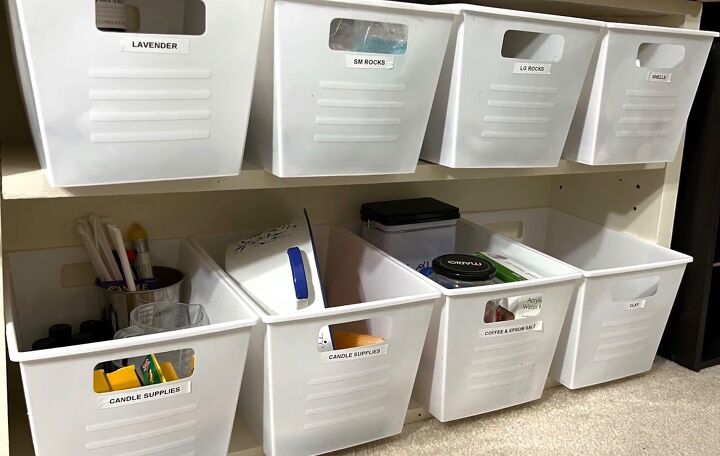
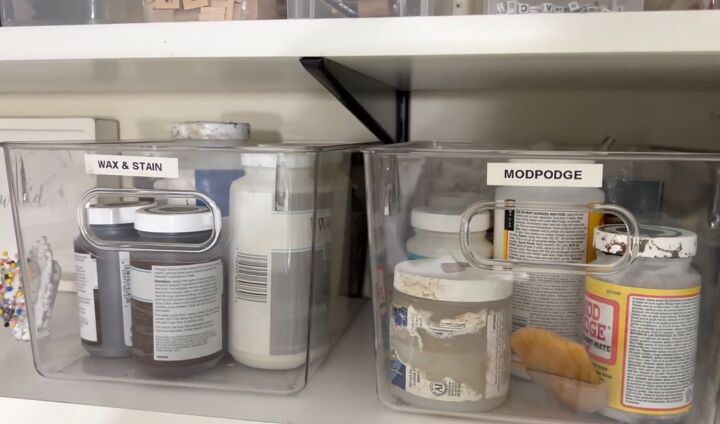
6. Use labels for everything
Like using clear containers, using labels makes it easier to identify and locate specific items. It also makes finding what you need faster and more efficient, especially when you have a large collection of supplies.
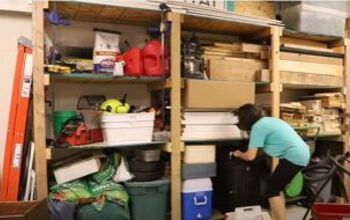
7. Invest in storage solutions
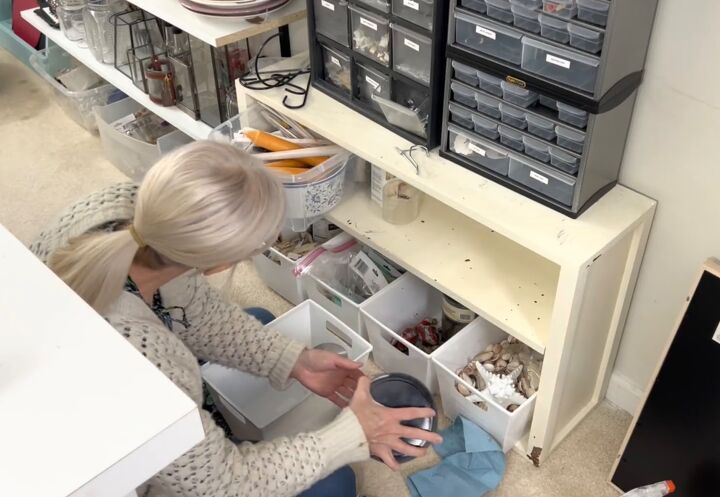
You don't have to spend a lot of money to create effective storage solutions. The majority of the furniture in my craft room was purchased at thrift stores, and most of the containers were purchased at Dollar Tree.
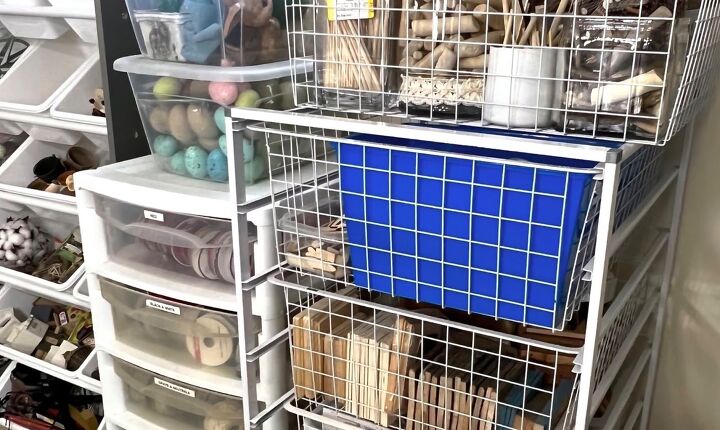
When I last made over my craft room, I purchased some tubs that worked well for storing small things like cabinet knobs and bird nests. I use a grid system for my floral pieces. I attached a few small clear tubs with zip ties to hold pieces of greenery that were too small for the grid openings.
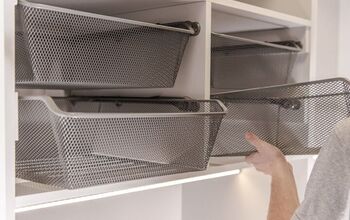
8. Use vertical storage
My new flower tower is one example of how to use vertical space, but there are so many ways to make your walls work for you. I'm a big fan of using inexpensive wall shelving. You can easily adjust the spacing to accommodate the sizes of your specific items.
Wall shelving can also hold a large number of items that are both easy to see and easy to access. If you need even more storage, you can attach any kind of basket to the wall to hold tall or awkward items.
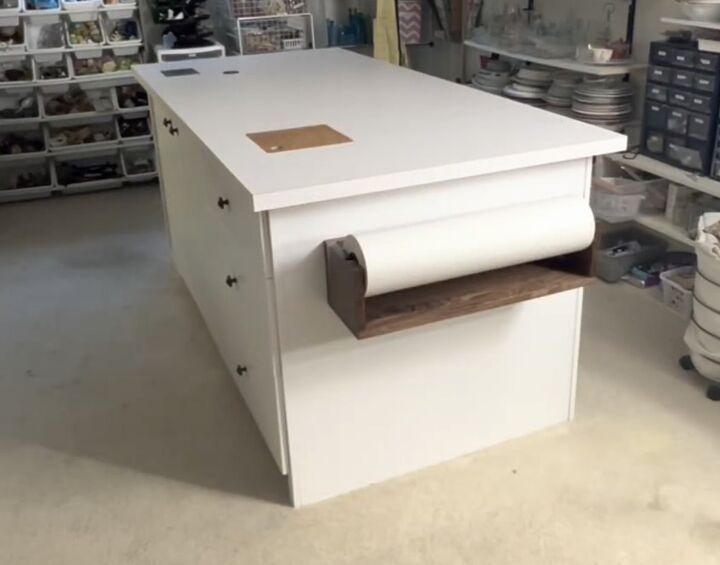
9. Craft table
Of course, when you're doing craft room organization, you need a good table. For Christmas, my husband gifted me a brand new custom-built craft table. It includes some custom details like a large paper roll so I can keep my work surface clean, a metal plate for my hot glue gun, and a removable wood pad where I can drill.
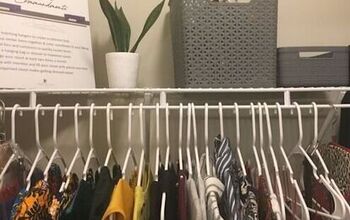
10. Prioritize storage based on the frequency of use
When I'm crafting, I get into the DIY Zone, and to stay in the zone, I need to be able to grab my supplies without much thought or effort. It's so important to me to have my most frequently used supplies close to my work table, so I dedicated the top drawer of the craft table to scissors, cutting utensils, scrapers, rulers, and pencils.
The other two drawers are dedicated to my most used floral supplies: Styrofoam floral wire and tape, various mosses, succulents, and small pieces of greenery. Paint brushes and a hot glue gun are the only supplies with a permanent spot on the top of my work table.
Many of my other most used supplies are on the shelves right beside the work table. I also have a small Lazy Susan to use for painting projects.
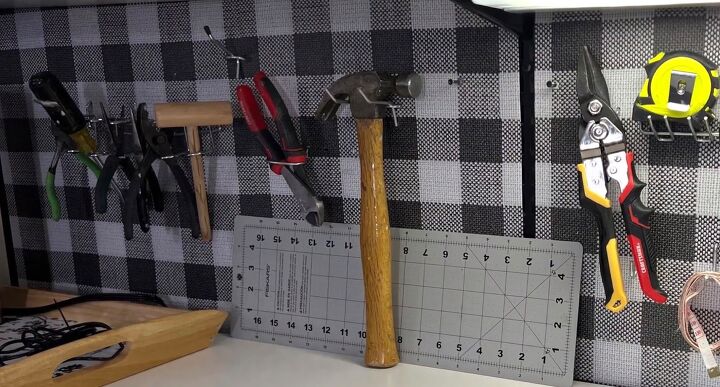
11. Install pegboard for tools
I think there is no better organizational system for hand tools than a pegboard. You can easily customize your hooks to accommodate your specific tools.

12. Create convenient spaces for larger tools
If you have large machines and power tools that you use regularly, you need to create designated spots for them. It is a great time saver to keep these items in easily accessible locations.
For several years I have stored my most used power tools in a thrift store cabinet directly beside my work table, which has worked fine.
Now I'm going to store my larger cans of paint and stain by moving them from one of the upper shelves. I was able to create more room for crafting supplies. I have two heavy duty roll out shelves in my new crafting table for my power tools.
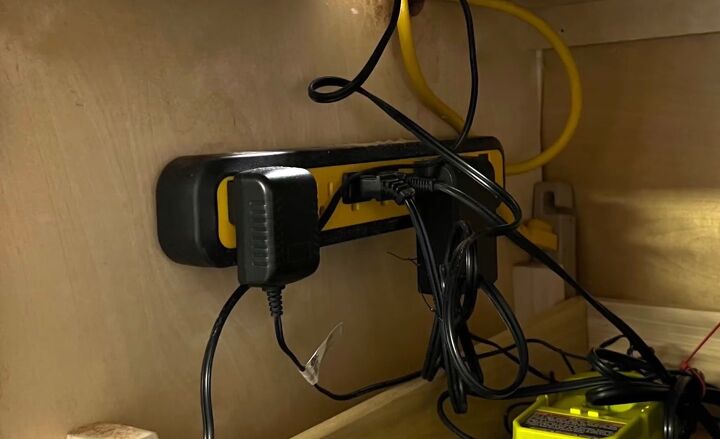
13. Incorporate a charging station
If you have a lot of battery-operated tools, you'll want to include a charging station.
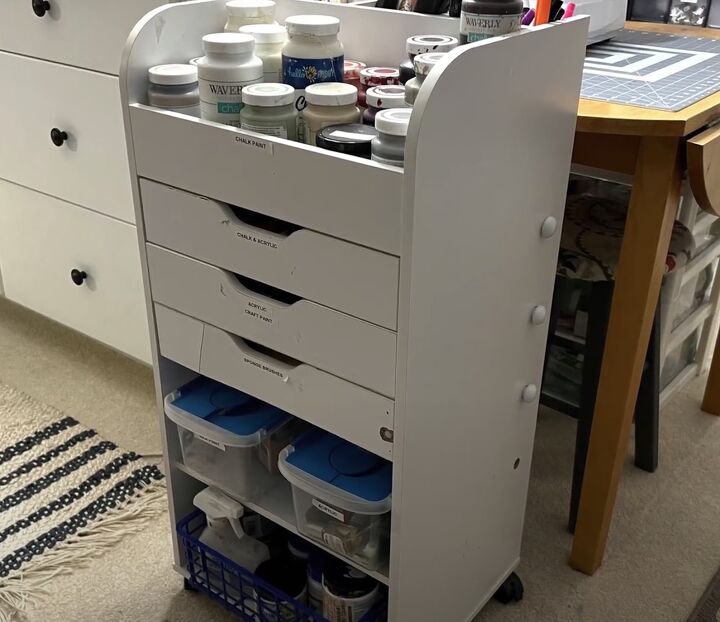
14. Incorporate a rolling cart
I had no storage when I was using a dining table as my work table, so having a rolling cart to hold my most used paints and painting supplies was a huge benefit.
15. Make picking up and cleaning as easy as possible
Once you have all of your stuff organized, then the success of your systems will be tested in the days to come. If you can't stay organized, you need to create different systems that work for you.
I avoid using tubs with lids because it only takes a second to toss something in an open tub. I also try to avoid stacking things on top of one another because a stack always means extra effort to put things away.
Craft room organization
What are your favorite craft room organization tips? Do you use special systems? Share in the comments below.


Comments
Join the conversation
That was very good. I want to order the vintage looking shelves for my kitchen and bathroom.
Idea ribbon storage use a round curtain rod held up on hooks on bottom of shelf suspended with heavy string or jute
run rod thru ribbon holes