8 Goodwill Thrift Flip Challenges for Spring

Are you ready to bring a breath of fresh spring air into your home?
Today, I am doing a Goodwill challenge: I am transforming my recent thrift store finds into charming cottage DIY spring décor. So let's get started!
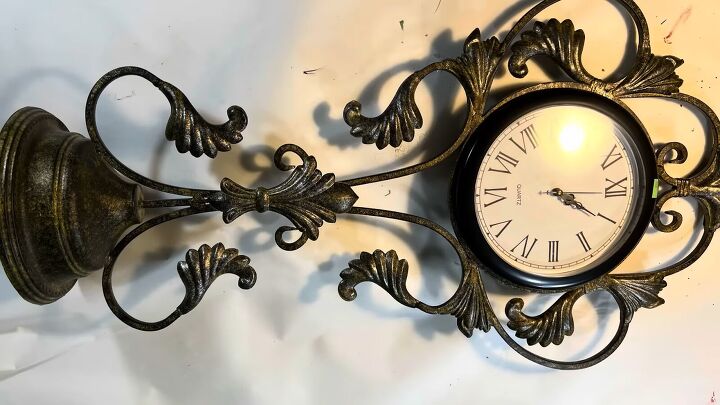
1. Impressionist clock
I applied some rub-and-buff gold wax to freshen up the metal frame of this 30 inch tall clock, and then brushed on some white wax to give it a more muted appearance.
Next, I removed the plastic clock covering, clock hands and the paper clock face, and instead inserted a poster board circle with a fragment of a Monet painting glued onto it.
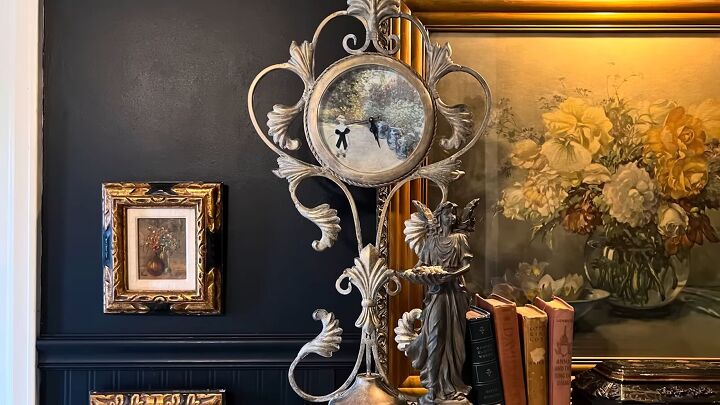
Before attaching the picture I painted the plastic clock frame with cream colored chalk paint, distressed it with sandpaper and applied antiquing wax and gold Rub and Buff to coordinate better with the metal stand.
I then reattached the hands, popped the plastic cover back in place. Finally, I repainted the clock frame and glued a metallic looking rope around it for additional detail.
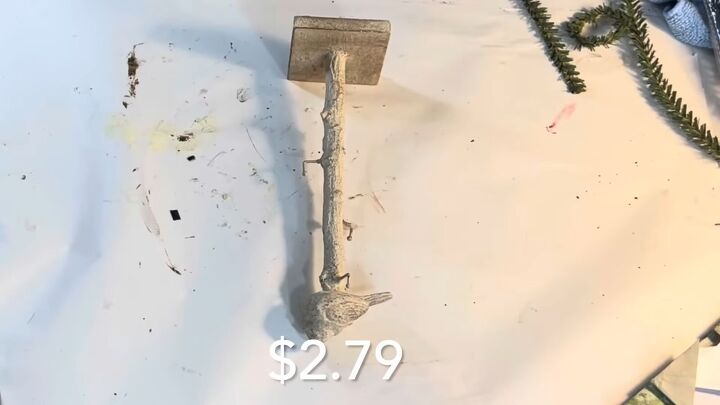
2. Bird wreath stand
I think this bird stand was intended to hold jewelry, but one hook had broken off, so I removed all but one with wire snips, disguised the holes with wood filler, and hung a pretty wreath on the remaining hook.
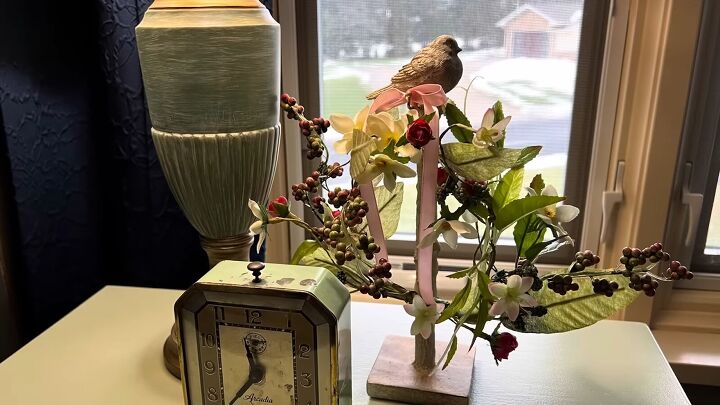
I made the wreath out of a spring garland, cutting off a section, twisting some wired stems together to form a circle, and tying a silk ribbon around the top.
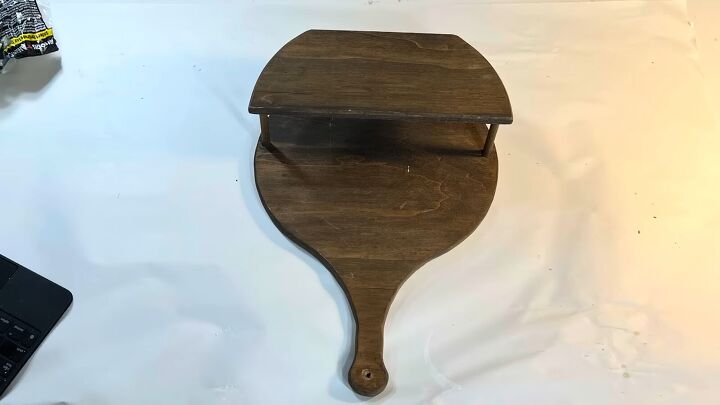
3. Paper plate holder
The wood finish was looking drab, so I cleaned it up with some Restor-A-Finish and fine steel wool.
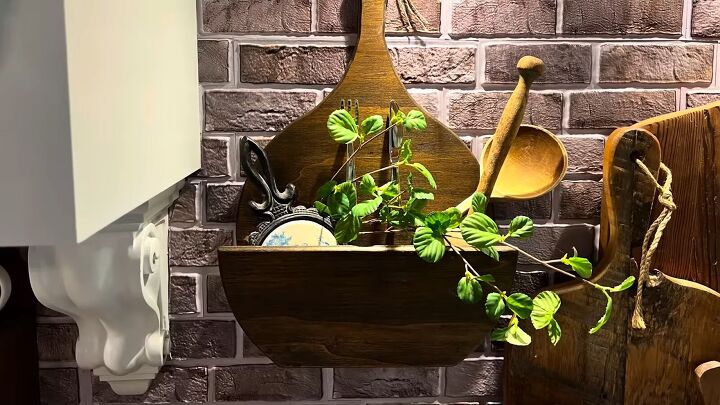
I added some fresh wood glue to make it snap back together, and inserted some cabinet knobs that looked like a fork and knife by drilling holes and inserting little screws.
In case you didn't know, you can buy individual screws at Ace Hardware for just a few cents each, which is what I did for this project.
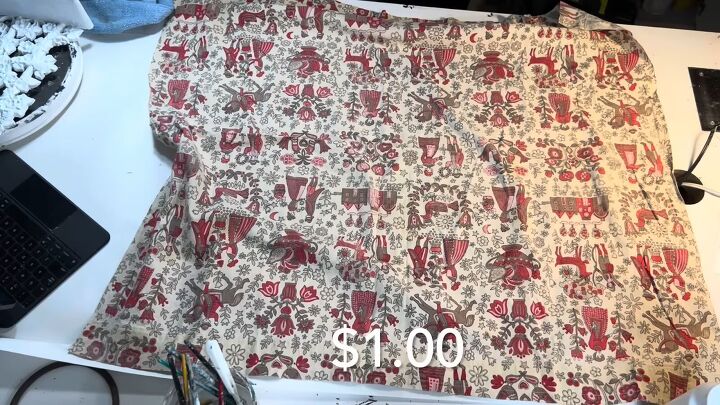
4. Vintage fabric hearts
I decided to make small heart-shaped pillows out of this pretty vintage fabric. I made a paper pattern and cut out seven hearts with seven different designs.
Then I cut out six more random hearts with the remaining fabric to use on the backsides. I was one short so to create a seventh heart I sewed two small scraps of fabric together and then cut out my heart.
I pinned the hearts with the patterned sides facing inward and sewed around the heart. I made little slits along the curved lines and left a small opening to turn it to the right side out.
While doing that, the eraser end of a pencil helped me reshape the heart.
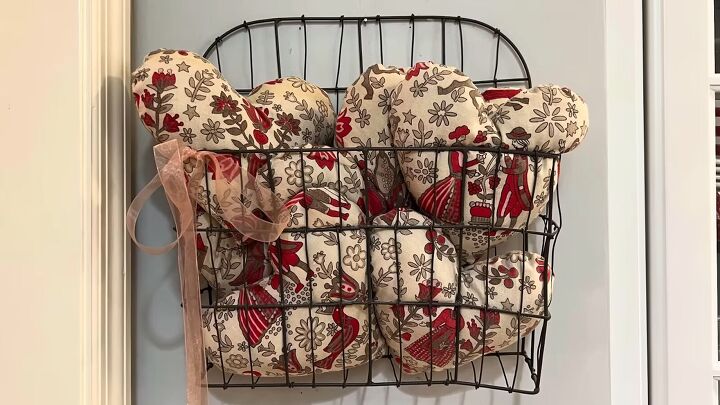
Then I filled it with pillow stuffing and sewed the opening shut. The fabric was fragile and tore during the process, so I hand-stitched the tears closed and it added to the vintage charm.
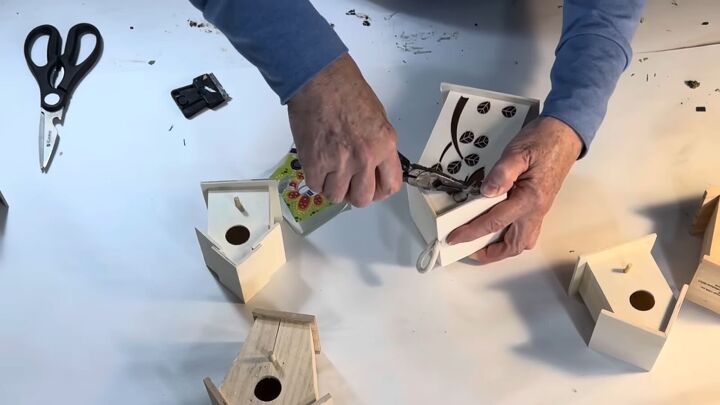
5. Birdhouse centerpiece
I got six birdhouses, and drilled holes on top of each and applied wood filler and hot glue around the edges. In some, I inserted test tubes and filled in the gaps with more wood filler, and then sanded it.
I painted each house a couple coats of a different spring color, and covered the roofs with pretty scrapbook paper.
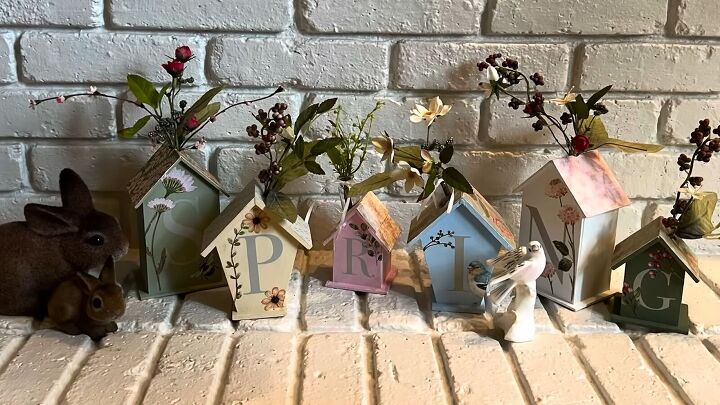
Next I printed out vinyl letters to spell the word “spring” in various sizes and applied the letters to the back side of each birdhouse.
Then I applied some small floral rub-on transfers, created six little separate bouquets out of a floral garland, and added them to each of the houses, turning them into little vases.
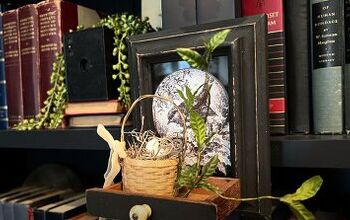
6. Vintage creamer bird nest
This wood piece décor matched a vintage creamer I had, so I decided to combine them. I cut a strand of florist wire and ran it through the creamer's handle and through the openings in the fleur-de-lis, twisting it tightly together on the back side.
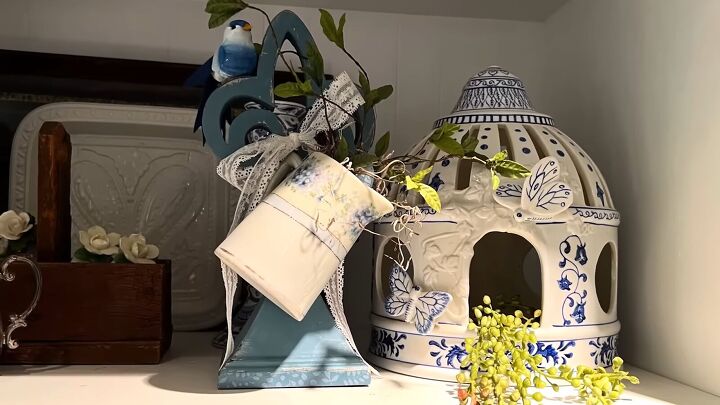
I then filled the creamer with Styrofoam, Spanish moss and a vine from a floral garland, as well as a couple of blue bird eggs.
To cover the exposed florist wire, I ran some lace ribbon over it and tied it in a bow on the front side.
Finally, I hot glued a faux bluebird to the fleur-de-lis.
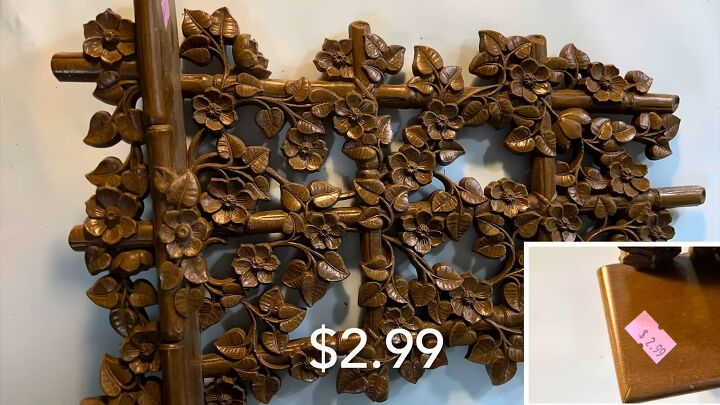
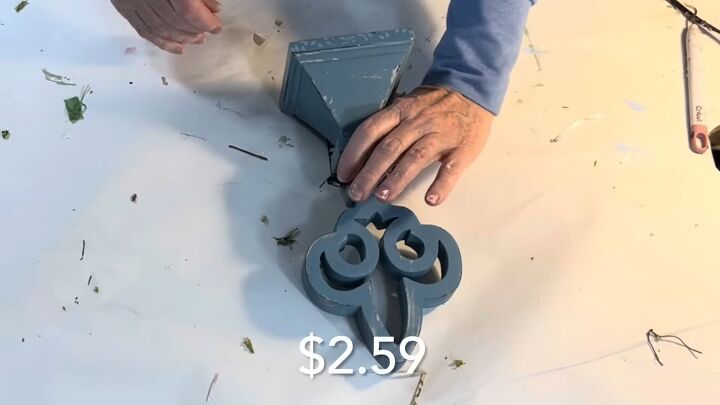
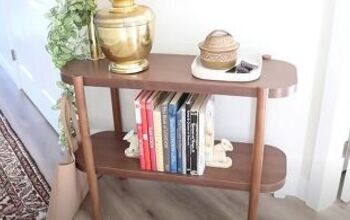
7. Flowery shelf
I have never seen a shelf quite like this, but I had to make it look like it was not plastic. I mixed white chalk paint and salt wash at a 50-50 ratio to create a thick textured paint and brushed it on the shelf. I should have first spray-painted it white because it did take quite a while to get into all the nooks and crannies.
Once it was dry, I applied a second coat of straight white chalk paint and then used some sandpaper to knock off some of the heavy texture and to reveal some of that brown color underneath.
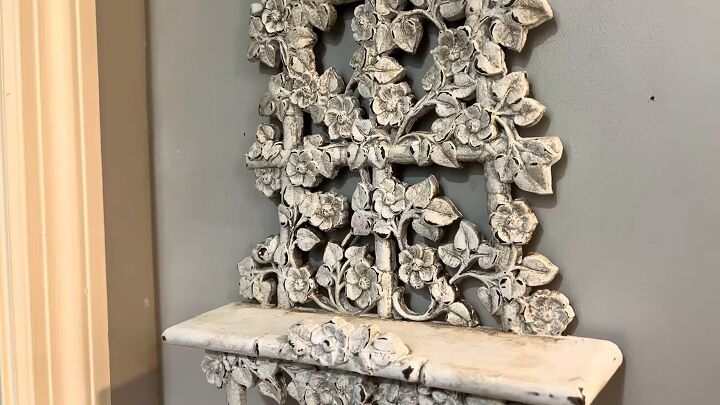
I then brushed on a coat of clear wax that would allow the antiquing wax to more easily be wiped off, applied some watered down antiquing wax and used a rag to wipe off most of it.
The dark wax that remained was mostly settled into all of those little details.
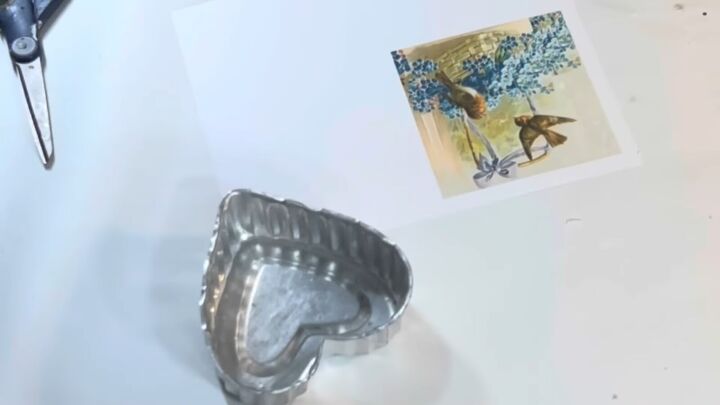
8. Heart jello mold
To turn this heart-shaped mold into décor, I glued a vintage Valentine image inside it, glued on two felt flowers and a few silk leaves and smaller flowers around them, as well as a silk bow on top and a pearl ribbon along the edge of the mold.
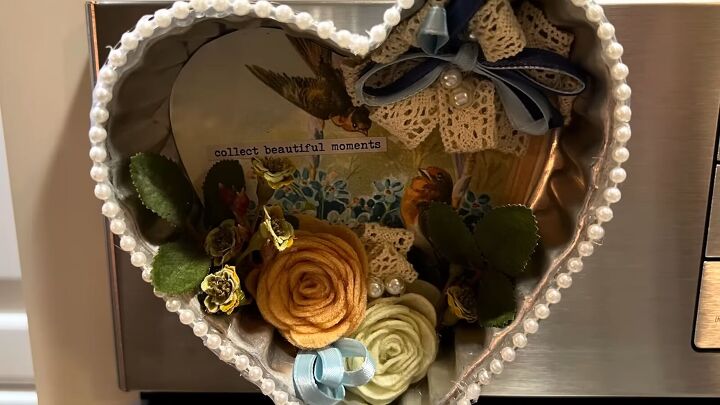
Finally, I added a sticker with a sweet phrase and hot glued a magnet to the back.
Goodwill challenge DIY projects
I have thoroughly enjoyed this thrift flip challenge. Which project was your favorite? How are you decorating your house for the spring? I would totally love to see your DIY spring decorating ideas in the comment section below.
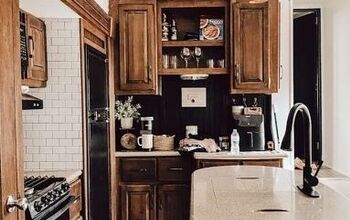
Next, Follow Along With My Incredible Small Kitchen Makeover For Only $100.


Comments
Join the conversation